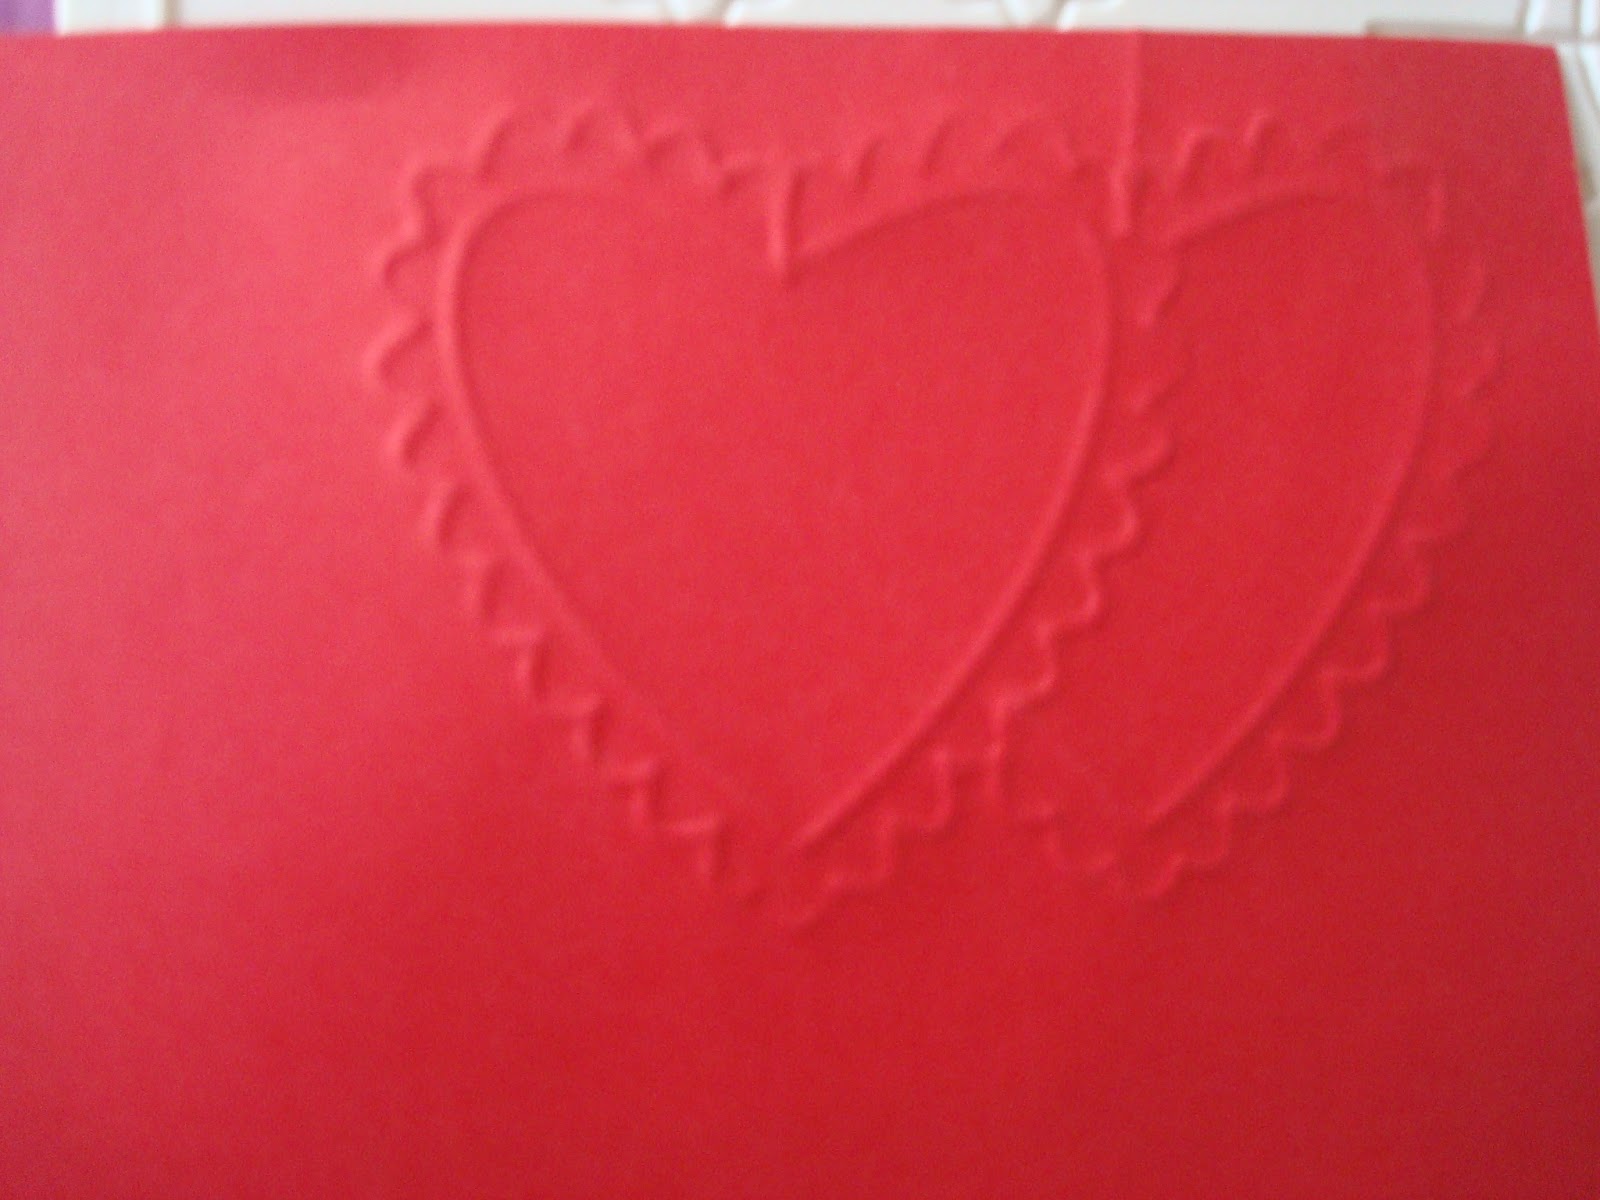
There's still time to make a Valentine's Day card if you've forgotten, or not had chance to make or buy one yet!
I made this one with a sheet of A4 white card, trimmed to a 5" square and an A5 piece of red paper. I used an embossing board to create the red hearts, and a small heart punch to give me some hearts for decoration, but it would look equally good without them.
Rub your red paper with a tumble drier sheet, or a candle to make the embossing easier, then place it over your chosen embossing design and carefully emboss with a round ended tool.
remove it from the board and turn it over, this is the side that will show on your card.
carefully trim around the design - I use small scissors, but I have a friend who always uses large ones, and another who uses a craft knife - use whichever tool you feel most comfortable with!
Stick the embossed hearts to the front of your card. I added a couple of phrases printed out from the computer "My Love" and "My Heart", and then wrote "4 U" with a broad felt tip in red.
I trimmed a quarter of an inch from the front of the card, then stuck five red punched hearts down the right hand side of the back of the card.
The finished card. When it's closed you see only the scalloped edges of the punched hearts, which match the scallops around the embossed hearts, but you could skip this step entirely to save time.
Intermittent items from Ashton's Creative Writer, Wheat-free Vegan Cook, Fruit and vegetable grower, Crafter and Card Maker
Showing posts with label card making. Show all posts
Tuesday, 14 February 2012
Tuesday, 19 October 2010
Christmas card from "freebies" number three
For the third mouse card I decided to make a square design. I took my basic A5 piece of white card, but folded it a third of the way in, to give me a square card with only half a front. You’ll see why at the end, it’s really not madness, honest! I trimmed a quarter of an inch from the base of the card and it now fits into some square envelopes which I bought ages ago in a sale.
and the matching backing paper, which I decided I really had to use at least once!
I covered the inside of the card, and the half front with the backing paper, ensuring that both sheets were the same way up. It took one and a half sheets of the backing paper.
I matted the main mouse image on to the pale green to make the topper as before, predictably I suppose, but I really do think it sits well on the green. I used foam pads to fix the star and candy canes, but opted not to use the spare apples and gifts.
Nor did I use the matching greeting. Instead I took a simple gold "confetti" phrase of "Merry Xmas", which I placed at an angle across the top left. I took three tiny gold "confetti" stars and placed them on the tree with tiny dabs of PVA glue. I didn't use any glitter glue this time - with all that busy background I wanted to keep the topper relatively simple and understated. I was surprised at how much I actually liked the backing paper once I was using it!
I've propped open the card so that you can see the way the topper is fixed only at the left so that the other half overhangs the main body of the card for a totally different look - do be careful to place your foam pads or glue on the RIGHT hand side of the reverse of the topper - I admit I've applied them to the "wrong" side before now!!! It's not the end of the world if you do, simply put foam pads on the remaining side and use that topper on a full card later, and make a new topper for your original card, but it is mega frustrating!!!
So, there you are, three quite different cards from one "freebie" decoupage design. Do you have a preference? amd why that one?
So here we are again with our mouse decoupage
and the matching backing paper, which I decided I really had to use at least once!
I covered the inside of the card, and the half front with the backing paper, ensuring that both sheets were the same way up. It took one and a half sheets of the backing paper.
I matted the main mouse image on to the pale green to make the topper as before, predictably I suppose, but I really do think it sits well on the green. I used foam pads to fix the star and candy canes, but opted not to use the spare apples and gifts.
Nor did I use the matching greeting. Instead I took a simple gold "confetti" phrase of "Merry Xmas", which I placed at an angle across the top left. I took three tiny gold "confetti" stars and placed them on the tree with tiny dabs of PVA glue. I didn't use any glitter glue this time - with all that busy background I wanted to keep the topper relatively simple and understated. I was surprised at how much I actually liked the backing paper once I was using it!
I've propped open the card so that you can see the way the topper is fixed only at the left so that the other half overhangs the main body of the card for a totally different look - do be careful to place your foam pads or glue on the RIGHT hand side of the reverse of the topper - I admit I've applied them to the "wrong" side before now!!! It's not the end of the world if you do, simply put foam pads on the remaining side and use that topper on a full card later, and make a new topper for your original card, but it is mega frustrating!!!
So, there you are, three quite different cards from one "freebie" decoupage design. Do you have a preference? amd why that one?
Monday, 18 October 2010
Christmas card from "freebies" number two
This card is similar to the first, well, it would be, using the same decoupage sheet, I suppose!! Here it is again, to remind you of the raw material, so to speak.
I’ve matted the pink design on to green again as I think this really works well, and repeated the use of an A6 white card blank. The dark green is the envelope.
I've placed the presents in more or less the same place as it seems logical, same with the greeting.
the candy canes I've applied with sticky fixers to add some depth, and one overhangs the base of the tree as that's what happens in "real life" isn't it? I've also used a foam pad to elevate the star this time, which I think is an improvement. I've repeated the use of the glitter glue on apples, garland and star - just a hint though, not too much as these are subtle, chalky colours and I don't want to overpower them.
The spare apples for the tree I have cut out as a block, and matted this on to the same pale green backing. I've mounted this new topper at the top left which gives a very different feel to yesterday's card, in my opinion - what do you think?
Sunday, 17 October 2010
Making Christmas Cards from "freebies"
I bought issue 84 of Cardmaking and Papercraft because I quite liked the look of the “freebie” on the front – a square wad of Chritmassy papers with cute designs. I’m quite a traditionalist, really, loving the rich red, gold and deep greens of the season, but I realise that not everyone has the same tastes, and these looked quite subtle, so I thought “Why not?” and bought it.
There are three papers of each design comprising three decoupage topper sheets followed by three co-ordinating backing papers. I thought you might find it interesting to see what I made with just four of the papers, so I'll show you design one a day and you can tell me which you prefer, if any, and why.
I decided to give this cute little mouse an airing first of all - she reminds me that it's almost time to start decorating. I don't put up a tree any longer, but when Rachel was small we always erected the tree on December 1st so that we had 24 days as a run up to Christmas, then after Christmas day we began the countdown to her birthday which is quite soon afterwards.
This is the backing paper which accompanies her page, the apples echo those she'd decorating the tree with, but the orange seems a little harsh in tone to me, so I decided simply to stick to the decoupage sheet. I decided to matt her onto a pale green paper to compliment the tree, and this went on to a plain white A6 card blank. I cut out the greeting and matted that in the same way.
I cut out each of the accompanying pieces and arranged them as you can see, the gifts look good on the floor beside the tree, and you can see I've deliberately overlapped the frame; I used deep foam pads for this. I used foam pads to stick one of the apples on the tree, one ready for her to pick up at her feet, and the other has rolled away, as round things often do! The star and candy canes I stuck down with paper glue.
I placed the greeting centrally, overlapping the base of the main matting to break up the design a little more.
I thought the top left looked a little bare, so found some pearly pink "gems" and stuck them down with some red glitter glue for some extra 'oomph'. I used a little of the same glue to highlight the apples. I took some gold glitter glue and traced over the garland on the tree and the star.
So there you are, my first card using some of the "freebie" stash. I'll show you another tomorrow.
Tuesday, 15 September 2009
creating a bereavement card, what to say
There are some cards that are not easy to make, and sympathy cards must be at the top of the list. After all, the card you send will intrude into another person's life at a sad time.


I've just made this one for an older lady whose husband died after a long illness. He'd not been home for 9 months, but went from hospital to nursing home.
.
I know that she has strong religious beliefs, whereas I do not. This makes the wording inside tricky: I have no wish to ignore her beliefs, nor to offend by anything I say. I decided that to offer sympathy for her loss, whilst being glad that he no longer suffered would be appropriate.
.
I found a card blank with a neutral, leafy background which has a lace effect border in sombre shades down the opening edge. I backed the aperture with a piece of black embossed paper. I centralised a clear gel "blessing" sticker on the paper, and found a couple of simple white lily embellishments which I placed at opposite corners.
.
I cut a length of black grosgrain ribbon and stuck it down the left hand side with two pieices of double sided foam adhesive, leaving a small gap near the top. I threaded a smaller piece of ribbon through the gap in the foam tape, and knotted it on top, as you can see in the detail photo. Somehow this is less fussy and twee than a bow, and more appropriate for a sympathy card, I think.
.
Inside I stuck a piece of plain white paper over the back of the front to hide the trimmings. I then created a white paper inner, and put an adhesive "corner" on the outer two corners, just to tie in with the floral adhesives on the front, in black and creams.
.
It's simple, and I know she will appreciate the thought. By the way, sorry the photos are slightly bluish - believe it or not, the wall behind the card is off white,, and not blue, and the card base is white. The camera was clearly "off colour" (sorry, that was cringe-making, wasn't it?).
Tuesday, 1 September 2009
Best laid plans, decoupage card
Well, the best laid plans of mice and men, as they say, gang oft astray, and so it was with my neighbour's birthday party.
In the end I decided on hand and body cream as a present - aged skin can be quite dry, and I thought it would be something useful, yet feminine.
I created a floral birthdy card, with a little decoupage for depth. I made a slit in the side of the card about an inch up from the bottom edge, and threaded a length of grosgrain ribbon through, stuck it down, then stuck a bow over the join, at the left-hand side.
I hunted out the numeral 9 and 8 from my chipboard stock in toning colours, and stuck those to the ribbon at the bottom right.
I stuck a chunky foam "F" at the top left of the card, and in a matching felt tip pen wrote the rest of her name from that. I know she'll appreciate the fact that her name and age are on the card.
Unfortunately I wasn't able to attend the party after all. I popped round with gift and card, said a quick hello, then left. She was very tired with all the visitors.
Balloons had been filled and tied to some shrubs down the path to give a festive air to the occasion. They are still there, and I'm sure still giving her pleasure as she looks out of her window.
The cards will stay up for a while, too, reminding her of the people who love her, and care about her.
Another year marked, and gone. I wonder how quickly time seems to go for her. I find it whizzes by faster and faster as I grow older, but she's nearly twice my age, is it but a moment between birthday, Christmas, Easter, birthday? Maybe one day I'll discover for myself what it's like to be truly old, only capricious time will tell.
In the end I decided on hand and body cream as a present - aged skin can be quite dry, and I thought it would be something useful, yet feminine.
I created a floral birthdy card, with a little decoupage for depth. I made a slit in the side of the card about an inch up from the bottom edge, and threaded a length of grosgrain ribbon through, stuck it down, then stuck a bow over the join, at the left-hand side.
I hunted out the numeral 9 and 8 from my chipboard stock in toning colours, and stuck those to the ribbon at the bottom right.
I stuck a chunky foam "F" at the top left of the card, and in a matching felt tip pen wrote the rest of her name from that. I know she'll appreciate the fact that her name and age are on the card.
Unfortunately I wasn't able to attend the party after all. I popped round with gift and card, said a quick hello, then left. She was very tired with all the visitors.
Balloons had been filled and tied to some shrubs down the path to give a festive air to the occasion. They are still there, and I'm sure still giving her pleasure as she looks out of her window.
The cards will stay up for a while, too, reminding her of the people who love her, and care about her.
Another year marked, and gone. I wonder how quickly time seems to go for her. I find it whizzes by faster and faster as I grow older, but she's nearly twice my age, is it but a moment between birthday, Christmas, Easter, birthday? Maybe one day I'll discover for myself what it's like to be truly old, only capricious time will tell.
hand-crafted cut-out anniversary card
I was rather pleased with this card I made for my daughter's wedding anniversary. I had never attempted this style of card before, but wanted to produce something special for this lovely occasion.
I used 2 sheets of cream A4 cardstock, half an A4 sheet of yellow backing paper printed with daisy type flowers, a strip of matching velum, a small piece of mirror board, about 9" of lemon organza ribbon, a daisy punch, a scrap of toning yellow paper for punching daisies, some gold heart stickers, and a yellow anniversary greeting peel-off sticker.
First score one A4 sheet of card down the centre to make a regular A5 card. This is the outer card.
*
The inner card is created by scoring the second A4 card into 4 equal sections across its width. I used an embossing board for ease, scoring on the gatefold and centre lines.Fold this inner card along the centre fold and cut
out half a heart shape in the centre, so when you open up the card again, you have a perfect symmetrical heart, as you can see in the photo. Mine is about 5" long.
out half a heart shape in the centre, so when you open up the card again, you have a perfect symmetrical heart, as you can see in the photo. Mine is about 5" long.*
Use the heart that you cut out as a template to cut out a piece of mirror board for the front of the card. Put this to one side for later.
*
Glue half the sheet of backing paper across the centre of the inside of the outer card, so that when the inner and outer cards are stuck together,
the paper shows through the heart aperture. See photo.
the paper shows through the heart aperture. See photo. *
Punch several small daisies in yellow paper. Stick a few on to the backing sheet to highlight the inside of the aperture. Stick the rest around the mirror board heart to give a neat finish, see photos.
*
On the two plain sections of the inner card, sc
ore a heart pattern border, see photo. This isn't vital, of course, you could leave them plain, or decorate them in some other way. I stuck a daisy flower at the top of one border, and a double heart peel-off on the other.
ore a heart pattern border, see photo. This isn't vital, of course, you could leave them plain, or decorate them in some other way. I stuck a daisy flower at the top of one border, and a double heart peel-off on the other.*.
Assemble the card by laying the inner card on the table, blank side uppermost, so no stickers are visible, just the reverse of your embossing, if you did any. Use your favourite method of gluing card together, either sticky glue, or double sided tape for this. I used tape. Put your glue/tape on the two outer quarters - these are where you will fasten the inner and outer cards together. Lay the inside of your outer card over your now partially sticky inner card, so that you can see the plain front and back of the card (the backing paper side faces down, fitting across the heart aperture).
*
When it is stuck you will have your aperture card, but the outside of the card is pretty boring! So, now take the remaining backing sheet, and stick it to the front of the card. Offset the matching velum by about half an inch, just to give a nice effect, at the left side of the front. Punch a hole at centre top and bottom through the velum, backing sheet and card. Cut the ribbon in half and thread one piece through each hole to hold the velum in place.

*
Mount the mirror board heart in the centre of the card using some foam fixers for a little depth. Stick your peel-off greeting in the lower right hand side of the card. I stuck a gold heart peel-off at the top right for a little balance.
*
I think it's lovely, but I'm biased, I know. The only thing that went wrong, (and invariably, something goes awry, doesnt' it?), was that I embossed my heart border upside down, so had to scrap my first inner card.
*
But, being a crafter, I haven't thrown it away. I'll use the borders on another card, and the heart aperture, and the heart I cut out (yes, of course I'd done that before the embossing, that's how it was upside down!!) will be used somewhere else, perhaps in my scrapbook I'm starting soon.
*
Enjoy your crafting, and remember, there's no such thing as a mistake, it's just a learning opportunity :)
Wednesday, 29 July 2009
greetings card making, pop-up cards
I thought I'd discuss some card stock I bought ages ago, to create some Christmas cards. Don't throw up your hands in horror like that! It's less than six months away, and if you're making your cards, you really should be thinking about it now - really! I made some pop-up cards from some kits that I'd bought, which I thought you might enjoy seeing. The actual principle is very simple, but
until I had the kit in front of me, I didn't realise just how simple to replicate they would be.
until I had the kit in front of me, I didn't realise just how simple to replicate they would be.Once you've folded your basic card shape, to the size you need to fit your envelope, then the fun begins. To get the effect of these cards, all that you need to do is to get your craft knife, or scissors, and make four cuts in the folded edge of your card. I usually take a piece of scrap paper from the recycling box to try out my ideas, rather than risk wasting my good card!!! That way I can play about with my ideas, and use the successful ones as templates.
Decide how far in to the card you want your first pop-out to be, then make two cuts, about an inch apart, it's really not necessary to be precise. Then repeat from the other side at the point you want your next pop-out to be. Open up the card, and pull the small projections you've just created to the inside of the card. You attach your topper to the front of these, and when the card is folded, they lay flat inside.
Alternatively, you might decide to have just one, single pop-out, or three - it's your card, you decide. You could have one central "statement" decoration, or off-set it and place a greeting tag to the side.
You might decide to have a small forest of Christmas trees, so make a few small projections for them to stand on, but make differing depths to your pairs of cuts, so that when the projections are in the card, they are at different positions, to give more perspective to the card.
If you have a large topper to support, you might find it useful to make a projection that is a couple of inches wide, or place it over two of the smaller projections, just to help it to stand, rather than flop!
Obviously, you can use the technique for cards at other times of the year, I'm just starting to think about Christmas!!
On the outside of the card, the cuts will be obvious to the recipeint of the greeting, and this would spoil the effect. To hide the cuts, simply cut some suitable backing paper deep enough to cover the incisions, both on the front and the back of the card, and stick it down. Then use a matching topper to the insert that you've made, to decorate the front of the card.
Voila - a miniature work of art to delight a friend or family member :-)
Subscribe to:
Posts (Atom)