I used 2 sheets of cream A4 cardstock, half an A4 sheet of yellow backing paper printed with daisy type flowers, a strip of matching velum, a small piece of mirror board, about 9" of lemon organza ribbon, a daisy punch, a scrap of toning yellow paper for punching daisies, some gold heart stickers, and a yellow anniversary greeting peel-off sticker.
First score one A4 sheet of card down the centre to make a regular A5 card. This is the outer card.
*
The inner card is created by scoring the second A4 card into 4 equal sections across its width. I used an embossing board for ease, scoring on the gatefold and centre lines.Fold this inner card along the centre fold and cut  out half a heart shape in the centre, so when you open up the card again, you have a perfect symmetrical heart, as you can see in the photo. Mine is about 5" long.
*
Use the heart that you cut out as a template to cut out a piece of mirror board for the front of the card. Put this to one side for later.
*
Glue half the sheet of backing paper across the centre of the inside of the outer card, so that when the inner and outer cards are stuck together,  the paper shows through the heart aperture. See photo.
*
Punch several small daisies in yellow paper. Stick a few on to the backing sheet to highlight the inside of the aperture. Stick the rest around the mirror board heart to give a neat finish, see photos.
*
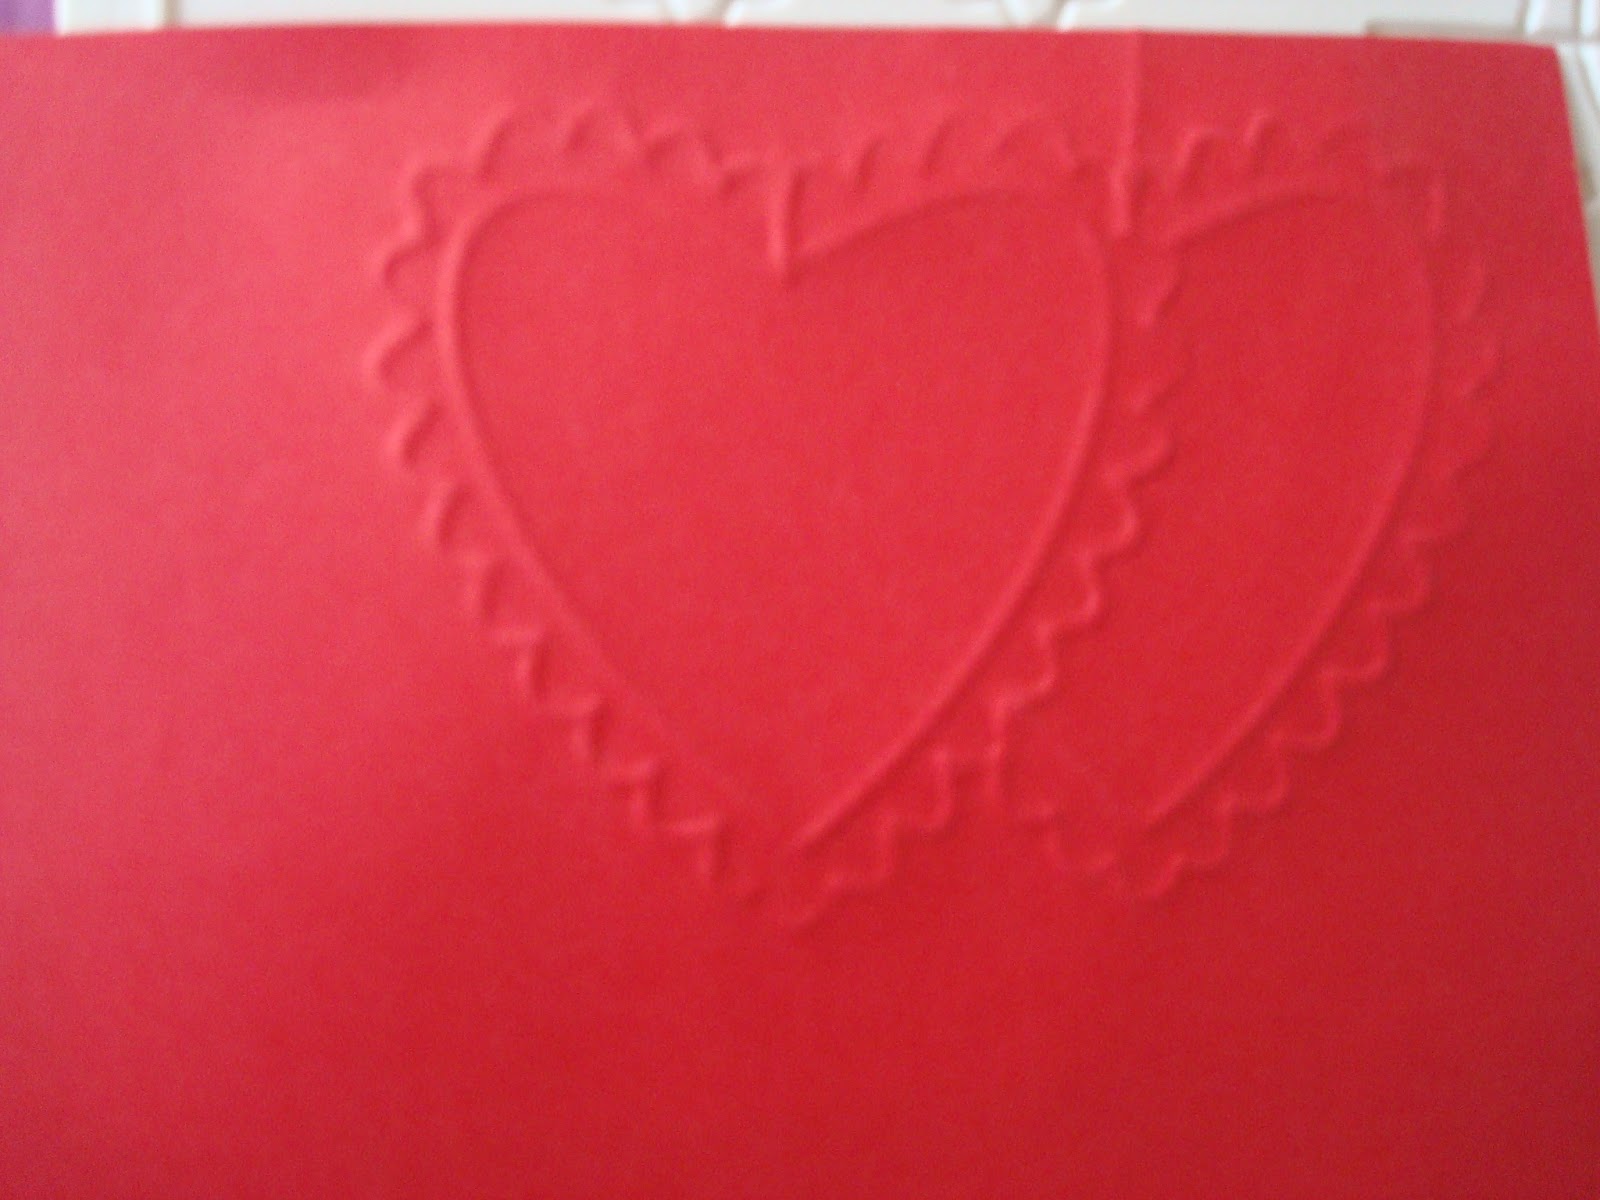
On the two plain sections of the inner card, sc ore a heart pattern border, see photo. This isn't vital, of course, you could leave them plain, or decorate them in some other way. I stuck a daisy flower at the top of one border, and a double heart peel-off on the other.
*.
Assemble the card by laying the inner card on the table, blank side uppermost, so no stickers are visible, just the reverse of your embossing, if you did any. Use your favourite method of gluing card together, either sticky glue, or double sided tape for this. I used tape. Put your glue/tape on the two outer quarters - these are where you will fasten the inner and outer cards together. Lay the inside of your outer card over your now partially sticky inner card, so that you can see the plain front and back of the card (the backing paper side faces down, fitting across the heart aperture).
*
When it is stuck you will have your aperture card, but the outside of the card is pretty boring! So, now take the remaining backing sheet, and stick it to the front of the card. Offset the matching velum by about half an inch, just to give a nice effect, at the left side of the front. Punch a hole at centre top and bottom through the velum, backing sheet and card. Cut the ribbon in half and thread one piece through each hole to hold the velum in place.
*
Mount the mirror board heart in the centre of the card using some foam fixers for a little depth. Stick your peel-off greeting in the lower right hand side of the card. I stuck a gold heart peel-off at the top right for a little balance.
*
I think it's lovely, but I'm biased, I know. The only thing that went wrong, (and invariably, something goes awry, doesnt' it?), was that I embossed my heart border upside down, so had to scrap my first inner card.
*
But, being a crafter, I haven't thrown it away. I'll use the borders on another card, and the heart aperture, and the heart I cut out (yes, of course I'd done that before the embossing, that's how it was upside down!!) will be used somewhere else, perhaps in my scrapbook I'm starting soon.
*
Enjoy your crafting, and remember, there's no such thing as a mistake, it's just a learning opportunity :)